
Have you ladies ever spent ages perfecting your make-up before on a night out only to find that when the photos emerge on Facebook the next day, your face looks washed out and greasy? Very annoying and happens to me all the time!
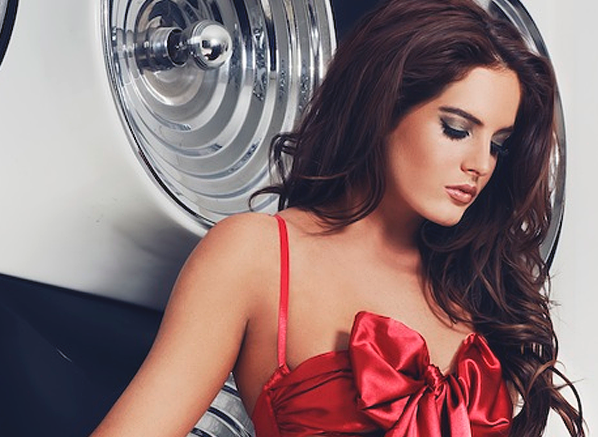
Flashing camera lights can really wash you out, so make-up for camera needs to be amped up so that it’s a lot bolder and the colours more vivid. I recently shot the images for my official 2015 calendar, and the occasion called for high-octane glamour: sultry, smokey eyes, chiselled cheekbones and cascading curls.
So this week I thought I’d take you through the make-up look I wore for the shoot. If you’re off to a ball or special event, give this look a go and you’ll look equally as fabulous in the photos as you did on the night. Here’s how to do it:
Step 1 – Flawless Face
The base is the key component to a picture-perfect make-up look, so always start proceedings with a good quality primer like Daniel Sandler Retexturising Face Primer. This will reduce the appearance of pores and provide a velvety smooth canvas for the rest of your make-up.
A full-coverage foundation is a photoshoot essential, and so my make-up artist appliedDiorSkin Forever Foundation using the Real Techniques Buffing Brush. The long-wearing formula makes it the ideal foundation for a special event or night out. If necessary, conceal any dark circles under your eyes with Clarins Instant Light Brush-On Perfector.
Set your flawless complexion in place with a translucent powder such as Vichy Dermablend Setting Powder, which will give your base a matte yet natural-looking finish and significantly prolong its wear. The camera will definitely be your friend with this grease-proof complexion combo!
Step 2 – Crafty Contouring
Thanks to the glorious beauty invention that is contouring, we can all fake razor-sharp cheekbones like Kate Moss’. My go-to contour product is Daniel Sandler’s Sculpt and Slim Contour Kit, which I wore on the shoot. Using an angled brush, gently brush the darker contour colour just below your cheekbones – suck your cheeks in and apply the colour to the hollowed area, following the natural downward line. A good tip is to use the centre of your eye as a guide to where you should stop the contour, and make sure you blend the lines out with a fluffy brush for a natural finish.
You can also sweep the colour across your temples and along your jawline for a supermodel-style chiselled effect, or down the sides of your nose to slim it down.
Next, highlight the high points of your face – your cheekbones, brow bones and the centre of your nose – with the shimmery champagne shade in the Daniel Sandler palette.
Step 3 – Alluring Eyes
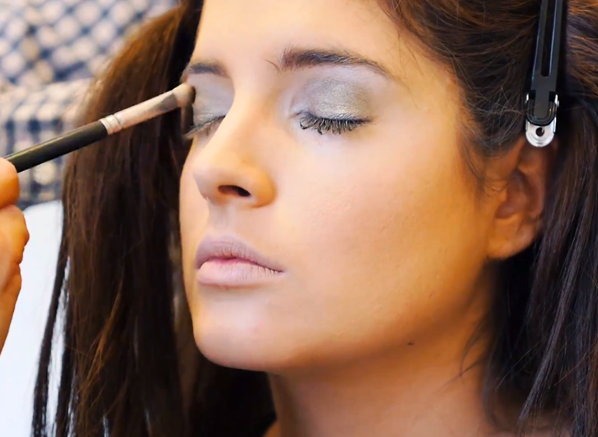
The make-up artist opted to enhance my green eyes with some smokey shadow in a similar emerald hue, using the Dior 5 Couleurs Eyeshadow Palette in Royal Kaki. Pack the colour onto a fluffy brush and gently dab it atop your eyelid – apply as many layers as you need for a vivid wash of colour before smoothing it out with a blending brush. Then, for a seductive stare, define the outer corners of your eyes with a slightly darker shade and blend out again.
Wearing colour on your lids can make your peepers pop in a way mascara alone cannot, so if you tend to stick to neutral eyeshadow tones I suggest you grab a palette and have a play around; you may be surprised with the results!
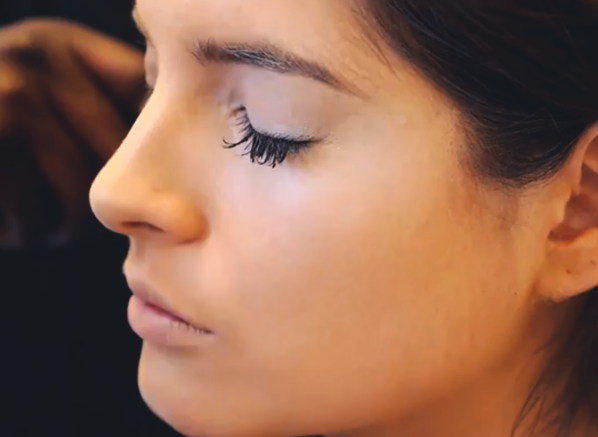
Next,carefully line your upper and lower lash lines with a black liquid or gel liner like Guerlain Liquid Eyeliner, extending the line slightly outwards from your upper lash line for a sultry feline effect.
Finally, for full, flirtatious lashes, apply a couple of coats of Too Faced Lash Injection Mascara.
Step 4 – Luscious Lips
Too much colour on both the lids and lips can sometimes look a tad extreme, especially if you’re off to a formal event, so I usually advise teaming a smokey eye with a failsafe yet super-sexy nude lip.
Line your lips first with a pencil in a shade similar to the lip colour you’re using – I used Daniel Sandler Automatic Long-Lasting Lip Liner in Taffy – then apply your lipstick with a small lip brush in layers for a full, pronounced pout. For the shoot, I opted for Clarins Rouge Eclat lipstick in Nude Rose – it’s one of my favourite lipsticks, offering intense, highly pigmented colour that lasts for hours.
And there you have it – say goodbye to being camera-shy and hello to turning heads all night long!
Lots of love,
Binky xxx


Damma
Daniel Sandler Automatic Long-lasting Lip Liner

Daniel Sandler lip liner is the best I have ever used! The colour is perfect and the lip liner easy to apply and long lasting. Now that I have found Daniel Sandler, I won't use any other product!
