
Draping is one of those makeup techniques that’s worth mastering. The name may sound confusing, and you may be thinking ‘not another makeup fad’, but trust me when I say, the blush draping technique is different to contouring and strobing.
More subtle than a strobe but, softer than a heavy contour, draping is all about using the power of blush to lift your features. So, how do you drape and what’s it all about? In 3 simple steps, you can chisel, highlight and shape your complexion; it’s oh so easy!
Now’s the time to embrace and enhance your skin through the art of draping. Let’s learn…
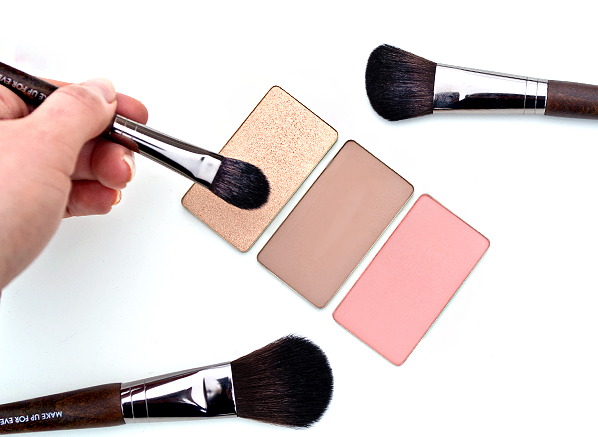
Step 1: Highlight
Areas to highlight: Top of cheekbones, temple, above and on the brow bone
Brush recommendation: MAKE UP FOR EVER Precision Highlighter Brush – 144
Action: Downwards to & fro movements
The first step is to highlight! I chose to use a champagne shimmer shade as I prefer a radiant finish to give my skin an ethereal glow. All you need to do is apply your highlight to the areas I mentioned above for a 3D finish. If you prefer to highlight with matte shades, click here – we’ve got lots of hues for you to choose from.
Top Tip: Choose a shade that’s 2x lighter than your skin to add dimension to your features.

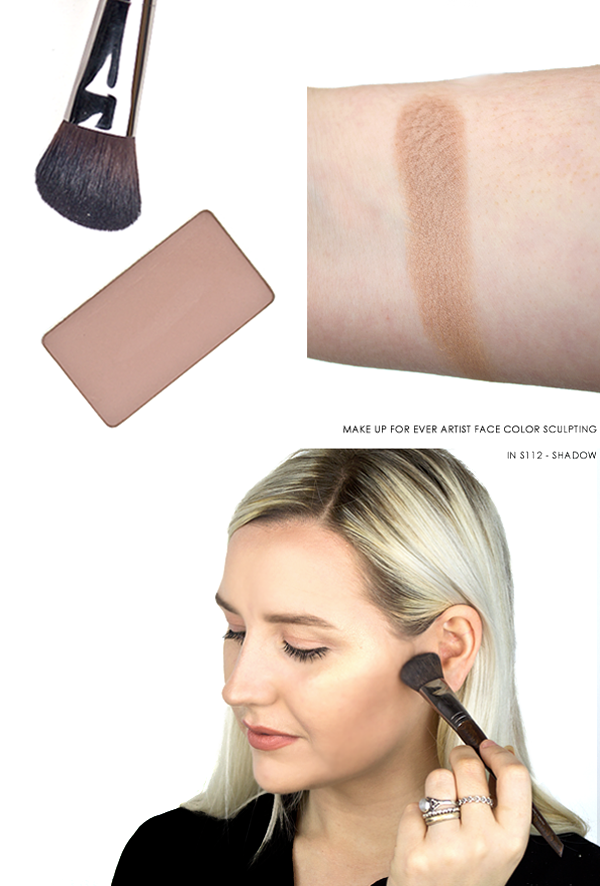
Step 2: Sculpt
Areas to sculpt: Jaw line & from the top of your ear down toward the hollows of your cheeks.
Brush recommendation: MAKE UP FOR EVER Precision Blush Brush – 150
Action: Push product into the above areas using buffing circular motions
Now onto my favourite step, the face shaping. This is where you see the real changes happen! To sculpt my face, I chose the shade s112 – Shadow to chisel some structure in. My advice is to start with minimal product and build. To find your natural structure, place the handle of the brush at the top of your ear (diagonally) and trace that line with the sculpt shade – it creates the perfect nip/tuck.
Top Tip: Opt for a shade with a dusky, grey undertone to mimic the appearance of shadow and depth.
Step 3: Blush
Areas to blush: Into your hair line, around the brow bone & just underneath highlight.
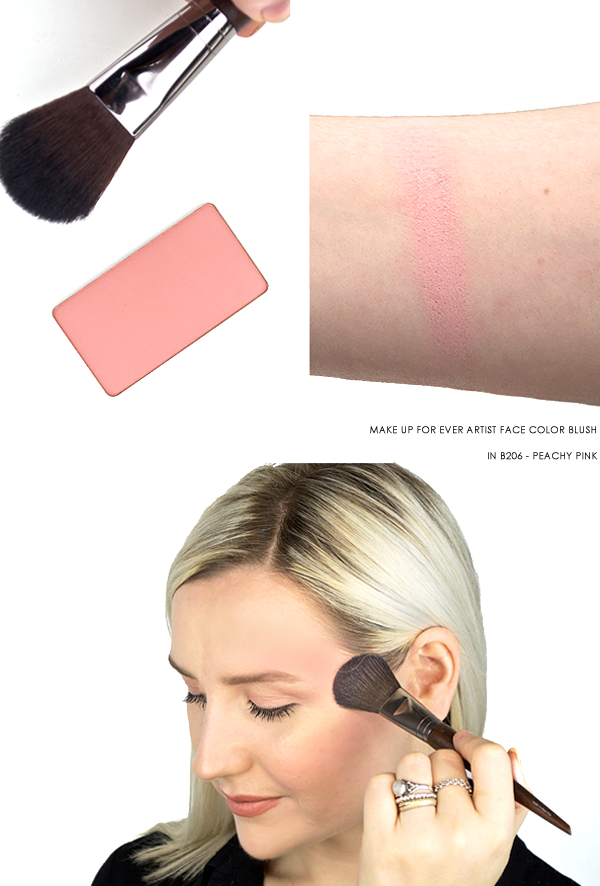
Brush recommendation: MAKE UP FOR EVER Flat Round Blush Brush – 156
Action: Downwards ‘figure of 3’ motion
When draping with blusher, the aim is to lift the appearance of your face to create a more taut appearance. I went subtle and used a pinky/peach shade directly in my hairline to lift my complexion upwards, for a subtle structured look.
Top Tip: When choosing a natural blush, match the colour of your finger tips to the blusher shade for a subtle wash of colour.
The Finished Result
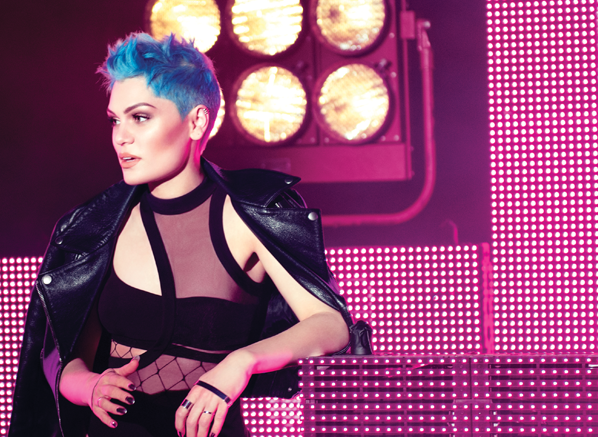
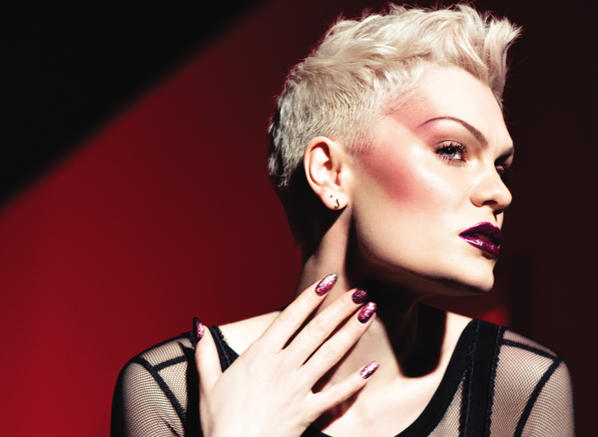
Voila! Here’s my finished look. I hope you found my tips helpful and I’d love to see your recreations on Instagram or Twitter! As you can see below, I’ve toned it down a little to recreate an every day drape, but if you want to take it up a notch, you can get inspired with the latest MAKE UP FOR EVER Blush Draping look with Jessie J look too…
Discover More:
• Sunset Eyes: The Trend You Need To Try
• Award-Winning Skincare You’ll Love


