
I’ve worked in the beauty industry for seven years. In that time, I have become a dab hand at double cleansing, multi-masking, and a cut-crease. But until recently, there was one thing I couldn’t get right; an at-home manicure. No matter what formula I chose or how slow I applied the polish, it still ended up looking ‘DIY’.
No one needs to be good at everything. A trip to the nail salon is well-deserved, but that luxury was taken away from us a few months ago. We were all left to fend for ourselves. So at the beginning of lockdown, I decided to stay ‘au natural’. But I soon missed the ‘put together’ feeling of a manicure. I then made it my mission to master the mani once and for all. I researched and called upon a few experts to share their tips and tricks on how to get it right. Here’s what I learnt….
1. Prep is Vital

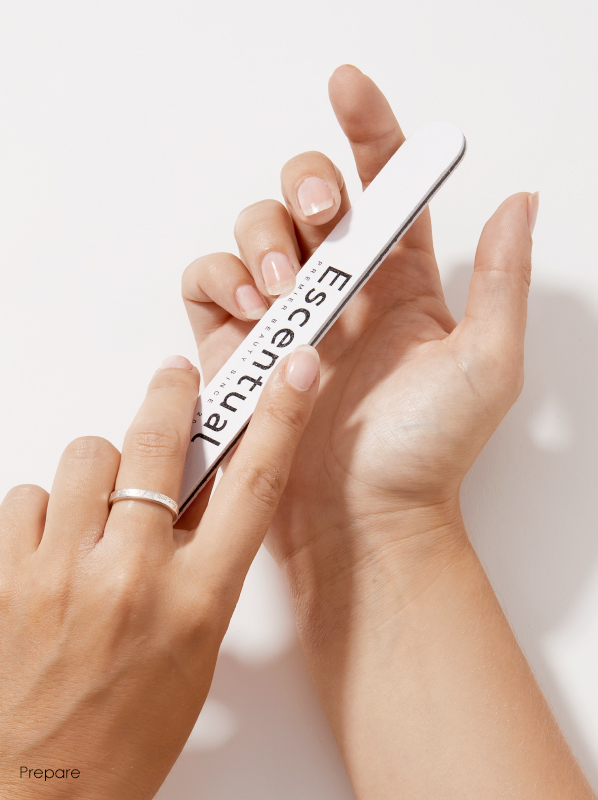
Whatever you do, don’t just grab a polish and start. That’s a recipe for a messy finish that won’t last. First things first, ensure your nails are free from polish and that your nail beds are moisturised, push back your cuticles (with a cuticle pusher), and clip and file your nails to the length and shape you desire.
“I use a nail file, cuticle pusher and a nail brush every time I do my nails. This keeps them looking neat and strong. A lot of people don’t want to file their nails often as they want them to be long. However, you need to keep them filed and smooth around the edges to prevent them from getting caught and breaking off.” – @JadeAnnLoves
When choosing your nail shape, take into consideration the shape of your fingers, and your nail bed width. If you prefer short nails, opt for a square or round shape, whereas those who like medium or long nails may prefer oval, almond, or coffin-shaped nails.
“Be aware that your nails have a point where they don’t want to grow anymore, and if they do, they’ll keep snapping.
It’s important to know your growing point and keep them to that length.” – @evebettsbeauty_
2. Your Hands & Nails Need TLC
It doesn’t matter how beautiful your nail art is, if your cuticles are peeling, and your hands look dry, that’s what people will notice. If you want your nails to do the talking, the key is to give yourself a little pamper session.
“A step that I always do is to exfoliate my hands and nails after I have filed and used my cuticle pusher.
It removes those dry pieces of nail and skin and leaves you with soft hands and smooth nails ready for painting!.” – @JadeAnnLoves
First, invest in a good hand scrub like the L’Occitane Shea Butter One-Minute Hand Scrub. The speedy scrub contains 10% moisturising shea butter, and husks from the shea nut, which means it’s tough enough to get your hands silky smooth but gentle enough not to irritate. Pay close attention to the area around your cuticles for a flawless finish.
“Use a cuticle oil when you wake up and before bed, and a hand cream throughout the day to promote cell renewal and increase cell growth.” – @evebettsbeauty_
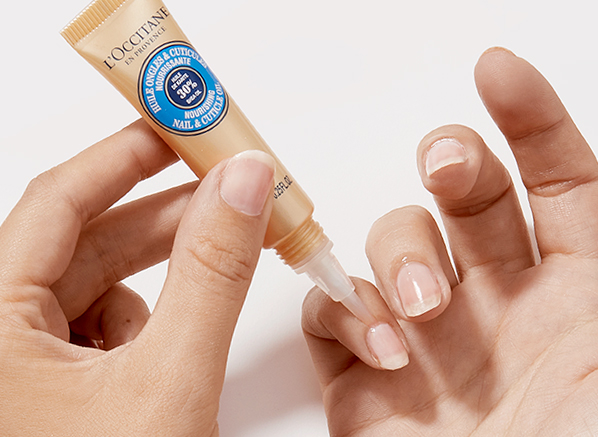
Before I began this research, I’d never understood the importance of cuticle oil; I always wondered if they made a difference, and the answer is yes, they do! Applying cuticle oil helps improve circulation around your nails, promotes nail growth, and will make your nails healthier. My recommendation is the L’Occitane Shea Butter Nail and Cuticle Oil. The brush-on applicator is easy to use, and the 30% shea oil formula is nourishing, and smells incredible!
And last but certainly not least, moisturise your hands. We’ve all been washing our hands a lot more recently, so this is extra important to keep them hydrated. I enjoy using a hand cream that’s as luxurious as it is functional, which is why the Nuxe Reve de Miel Hand & Nail Cream is my choice. The non-greasy formula contains Chilean rose, avocado and sweet almond precious oils, which hydrate and repair cracked hands. Then, there’s the honeyed Reve de Miel scent that’ll make you want to apply it again and again.
3. It’s All About The Base AND Top Coat
If you want the best finish and longevity, a base and top coat are non-negotiable. A base coat helps to smooth the texture of your nails and protect your nails from polish, while a topcoat locks everything in, prevents chipping, and gives nails gorgeous shine.
“Use a base coat and a top coat! So many people ask me “How do your nails look so smooth?” or “Do you wear gel?” I use a base coat and topcoat every time I paint my nails, and lots of people reply saying that they can’t be bothered! Realistically, you should have 1 x Base coat, 2 x Colour coats, 1 x Top Coat.” – @JadeAnnLoves
If you’re serious about improving your manicure skills, you should invest in a good base and topcoat, and because Dior is the ‘creme de la creme’ of premium beauty, they’re the perfect option. The Dior Abricot Base Coat helps to transform the surface of your nails for the best base for colour, while the Dior Gel Top Coat coats nails with a protective film that dries down ultra-shiny and hard-wearing.
Catch Up With #NightInWithEscentual!
We went live with blogger, @JadeAnnLoves, sharing tips on how to master an at home manicure; catch up here.


