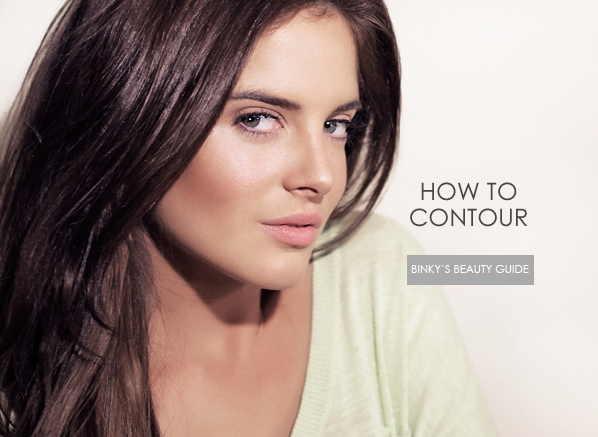

Hi everyone!
Contouring is a skill all top make-up artists have in their arsenal. Contouring and highlighting your face massively enhances your bone structure – it can give the illusion of higher cheekbones, a slimmer face and even a smaller nose!
Contrary to popular belief, sculpting your face isn’t all that difficult – you don’t need hundreds of products or hours of time. This week I’m going to show you a quick and easy way to incorporate contouring into your make-up routine using just a few great multi-purpose products.
Step One – Primer
Firstly, prep your skin by applying bareMinerals Prime Time Foundation Primer all over the face – this will give you a smooth base to apply your foundation and also makes it last longer.
Step Two – Foundation
I’m going for quite a glowy, dewy look today so I’ve opted for one of my favourite foundations – Daniel Sandler’s Invisible Radiance Foundation and Concealer. I love the formula of this; it provides good coverage but still feels super moisturising on the skin and never looks cakey. Apply it all over the skin using your fingers or a foundation brush – you can build up the coverage depending on what kind of finish you want. Finish your base by dabbing the concealer in the lid over any pesky blemishes you may have.
Step Three – Concealer
Next, take the bareMinerals Well Rested Concealer and apply it under your eyes – this brightens the general eye area and makes you look more awake. Gently blend it in using your fingers, taking care not too tug or stretch the delicate skin under your eyes.

Step Four – Powder
To set this all in place, swirl a brush into the Daniel Sandler Blotting Powder and sweep the product over your face. Translucent powders are great for setting your make-up if you’re after a natural, glowy finish, as they mattify the skin without adding any colour or making your face look cakey.
Step Five –Contour
Now, onto the important part – the contouring! Whether you’re a seasoned pro or completely clueless when it comes to contouring, the Daniel Sandler Sculpt and Slim Palette is the perfect product. Inside you’ll find a matte brown shade perfect for sculpting the face, alongside a gorgeous shimmery champagne highlight.
Using a large angled brush or face brush, gently apply some of the brown contour shade into the hollows of your cheeks, just under your cheekbones. If you suck your cheeks in like a fish, you’ll see a distinctive line which is a great indicator as to where you need to contour. You don’t want to make the lines too harsh, though, so blend the product well by swirling your brush in circular motions. Take the product right up to the top of your cheekbones and up to your temples too.
If you want, you can also contour under your jawline (which will help conceal the dreaded double chin!) as well as down the sides of your nose using a slightly smaller brush.
Step 6 – Highlight
After this, apply a liquid highlighting product like Clarins Instant Light Radiance Boosting Complexion Base to the middle of your forehead and straight down the middle of your nose to slim it down. You can also add a little bit to your chin and your Cupid’s bow if you wish, which is a great tip for faking plumper lips! I also like to apply the shimmery highlight from Daniel Sandler Sculpt and Slim Palette across my cheekbones and along my browbones to add further definition.
The basic idea is to apply highlighter to the high points of your face so they stand out, giving the illusion of stronger, more defined bone structure a la Kate Moss!

Step 7 – Finishing Touches
To give your face a fresh flush, gently dab and blend Daniel Sandler Watercolour Crème Rouge Blusher in Soft Peach onto the apples of your cheeks. This blusher has a gorgeous creamy consistency that’s really easy to work with, meaning you can also use it on the lips.
Finally, again taking the matte brown shade from the Daniel Sandler contour palette, lightly define the crease of your eye with a blending brush. Don’t go overboard with this if you’re after a radiant finish; the key is for everything to look natural and not too made-up, so remember to blend everything as you go!
See you all next week,
Binky xxx


