
Life can get busy. Whether you’re a single mum, juggling 3 jobs or just can’t stop pressing snooze on your alarm, sometimes there’s just no time to spend half an hour in front of the mirror in the morning. But that doesn’t mean you have to show the world your undereye bags (don’t worry, we all get them), or embrace your unruly morning hair. This edit is all about making the most of the time you do have, even if that’s 2 minutes while your little one eats their breakfast!
When it comes to looking put together in a flash it’s more about the products you use than the time you have. You won’t find an eyeshadow that needs hours of blending here, or a lipstick that requires concentration and precision, no, there’s no time for that! Instead, expect to find a handful of nifty tricks and makeup essentials that are foolproof and fast…
#1 Save time and start with the eyes!
Eyeshadow fall-out has the potential to mess up your makeup, so don’t let it. Start with your eyeshadow and you won’t waste any precious time clearing up the aftermath, especially if you’re dabbling with colourful pigments or glitter.
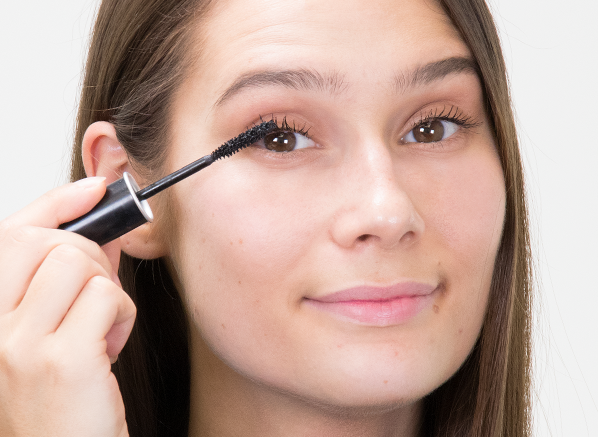
There’s also another reason that you should start your makeup with the eyes and that reason is mascara. Two coats of mascara will give you the best result (MAKE UP FOR EVER’s Excessive Lash is my new go-to), but if you leave this step until last you’ll be applying your second coat to a wet first coat, which is a spidery mess waiting to happen. So, overcome this by starting with your eyes; when you’ve completed your look come back and apply another coat of mascara.
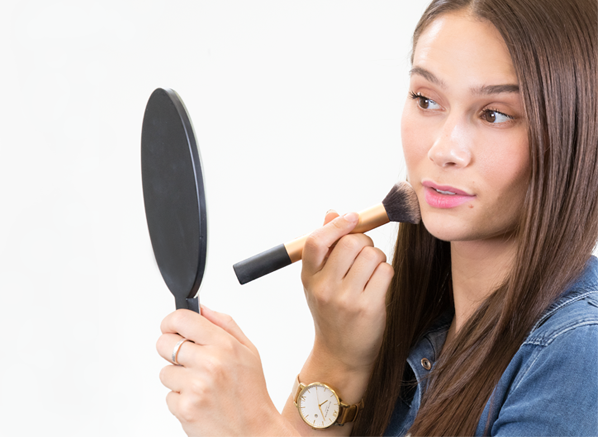
#2 Leftover bronzer or highlight? Pop it on the eyes…
Waste not, want not! It goes without saying that if you’re trying to save time you should be as resourceful as possible. That’s why I always try to get the most out of the products I’m using. So, when I’m applying bronzer and highlighter I’ll use any leftover product on my eyelids.
If I’m honest, bronzer is my go-to on my eyes whether I am in a rush or not. I run it through the crease to add subtle definition and it makes the world of difference, believe me. At the moment, my favourite is the Benefit Hoola Quickie Contour Stick. It’s a cream bronzer that I can apply really quickly with my fingers; on the cheeks, it gives my complexion a really healthy glow, but on the eyes, it pulls everything together and adds a lovely warmth.
Tip: Your fingers are the best tools you have! Use them where possible to blend out makeup formulas.
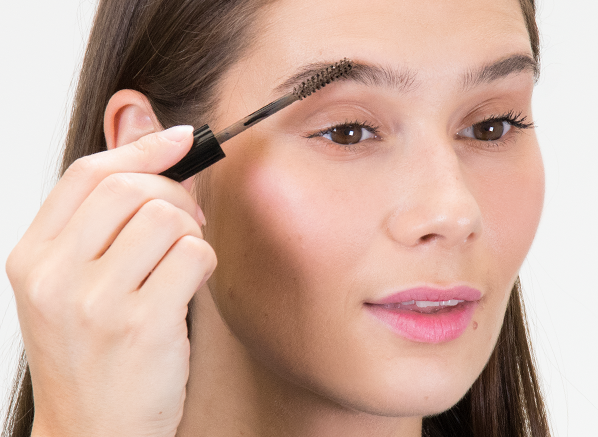
#3 Unruly brows and grey hairs? Brow gel to the rescue!
I don’t know about you, but when I’m clock watching HD brows aren’t on my agenda. What I’m looking for is a formula that’ll give my brow hairs a quick tidy up and fill in any sparse areas without me having to create teeny tiny individual brow hairs (I have no time or patience for that in the morning).
What I reach for time and time again is the MAKE UP FOR EVER Brow Gel. This brow mascara has both long and short bristles that catch every hair. The formula is full of textured fibres that fill in, define and keep everything locked in place – just what the brow doctor ordered.
Tip: Tinted brow gels are a saviour for unwanted grey hairs. Just comb over the hair and watch it disappear!
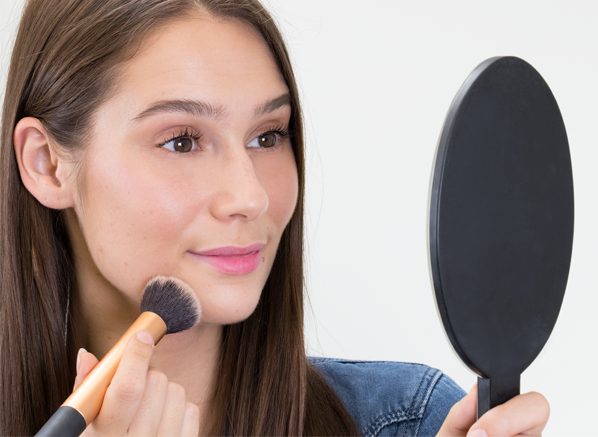
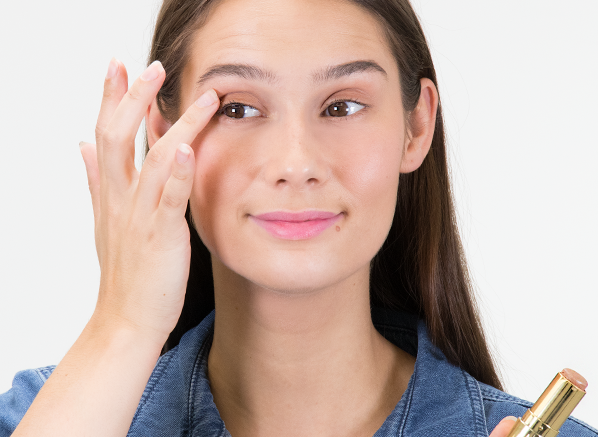
#4 Need flawless skin in a flash? Choose a tinted moisturiser…
A tinted moisturiser is a saving grace when you’re short on time. Not only does it need little-to-no blending but it’ll give your skin a boost of hydration, which means you can skip moisturiser if you’re really in a rush.
For anyone looking for a tinted moisturiser recommendation, I’d say look no further than bareMinerals Complexion Rescue. Calling this a tinted moisturiser seems unfair as it does so much more, it’s actually it’s a tinted moisturiser, BB cream and CC cream in one! Expect a really naturally flawless base with sheer-to-medium coverage and beautiful glow!
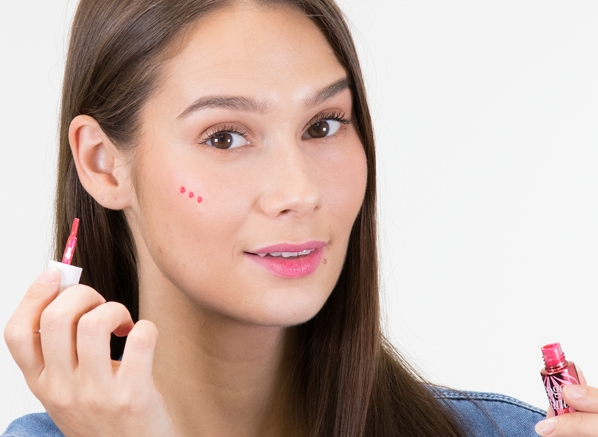
#5 Toss up between lips or cheeks? Do them in one…
Usually, when we’re flapping to get ready in a rush something has to give. Often, for me, it’s lip or cheek colour as I prefer to get my base looking as good as possible. But these steps really don’t need to be skipped, not when there are formulas that can do both!
Take the Benefit tints, for example. Their liquid formula can be dotted over the lip and cheeks and blended out with the fingers with minimal effort. The result? A rosy flush of colour that instantly perks up your complexion. I personally find blush and lip colour are what bring your entire look together, so instead of missing it out, try this – it takes seconds!


